fbpx How-To: The Garland Pose - Chiro One - Be Well Blog
How To: The Garland Pose

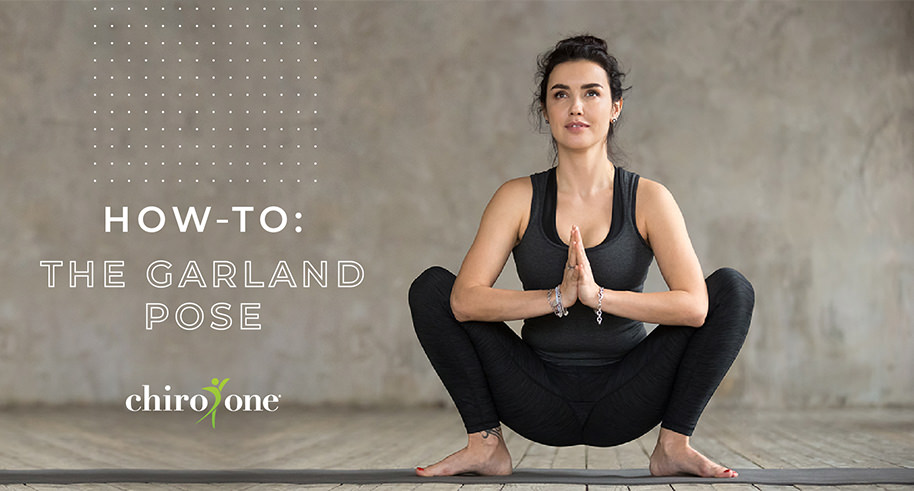
Experiencing tightness and tension in the hips? It’s time to get moving! The garland pose is a yoga staple—good for beginners and seasoned yogis alike. It focuses on opening up the hips and strengthening the legs and core. It’s especially helpful for folks who spend a lot of time sitting!

Here’s how it’s done.

Garland Pose How To

  1. Begin by standing at the front of your yoga mat with your spine straight, shoulders back and feet positioned slightly wider than shoulder-width apart.
  2. Bend your knees and slowly lower your hips, moving into a squat. Keep your thighs open.
  3. Apply a light pressure with your elbows to the inside of your knees and bring your palms together. Your forearms should stay parallel to the floor as your garland pose takes shape.
  4. Straighten your torso and balance your weight back into your heels.
  5. Hold for 20 seconds (remember to breathe!) and slowly rise back to a standing position.

Additional Tips:

  • Find your heels coming up when you squat? Put a thick, rolled up blanket beneath them for added support, taking pressure off the front of your body and helping you balance.
  • Don’t be afraid of modifications! If you’re having trouble balancing, do the garland pose against a wall or within reach of a stable piece of furniture (like a chair) that you can use for support.
  • If you experience pain in your knees, ankles and hips, the garland pose might not be for you. Check with your doc before adding this move to your routine.
 Photo

Chiro One Wellness Centers

Welcome to the Chiro One Blog — your home for chiropractic tips and information that help you move better so you can live better.

Like What You See?

Subscribe and get news, articles & offers sent right to your inbox each month.

"*" indicates required fields

By subscribing you are agreeing to the Terms and Conditions and Privacy Policy.